LoanShop, Loan Company & Finance Adviser WordPress Theme Documentation
Below is the detailed documentation for the LoanShop theme vers. 4.0.
Below is the detailed documentation for the LoanShop theme vers. 4.0.
First, thank you for purchasing our LoanShop theme!
This guide provides instructions for installation, help on getting started and extensive documentation of features. It is recommended you read it thoroughly to fully leverage the LoanShop theme's capabilities. Please also make sure to check out our Video Tutorials as they explain everything covered in here in greater depth. We hope you enjoy building with LoanShop as much as we enjoyed developing it and continue to develop with new features!
Before beginning the installation and configuring of your new theme, you must first have WordPress already installed on a server.
If you are struggling, here is a very detailed guide at Wordpress Codex that will walk you through every step.
Once you have setup a copy of WordPress, there are two ways you can go about installing the theme:
Unzip the download and upload the theme directory /loanshop/ into your WordPress themes directory /wp-content/themes/.
This is definitely the easier route for most. Simply navigate to Appearance > Add New Themes > Upload. Click the 'browse' button and locate the still zipped theme folder. The theme will be uploaded and installed in a matter of seconds.
After you have installed the theme successfully, you can optionally import the supplied dummy data in order to get a feel for things. If you're interested in importing the data, pleave check the Demo Data section below
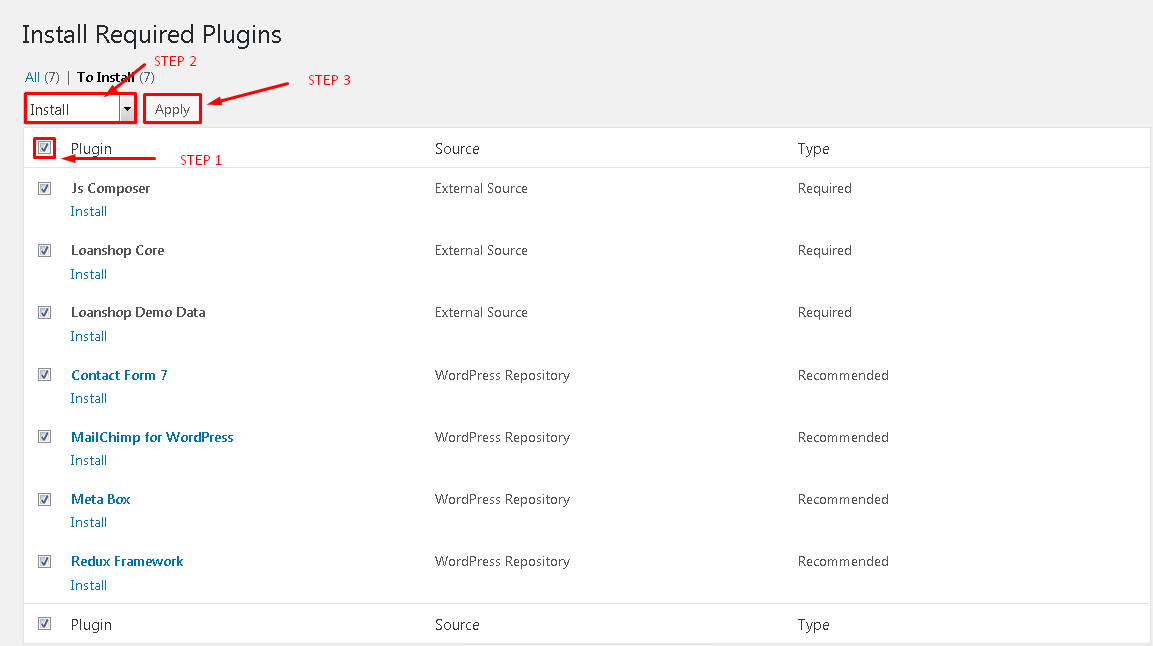
Once you have installed and activated our theme you will be prompted to install required and recommended plugins. Just click the link to begin installing plugins.

Next, check boxes to select all the plugins you want to install, select the bulk action of install from the dropdown box and then click the button to apply.
Select the plugins you had installed, and then apply the bulk action to activate them.
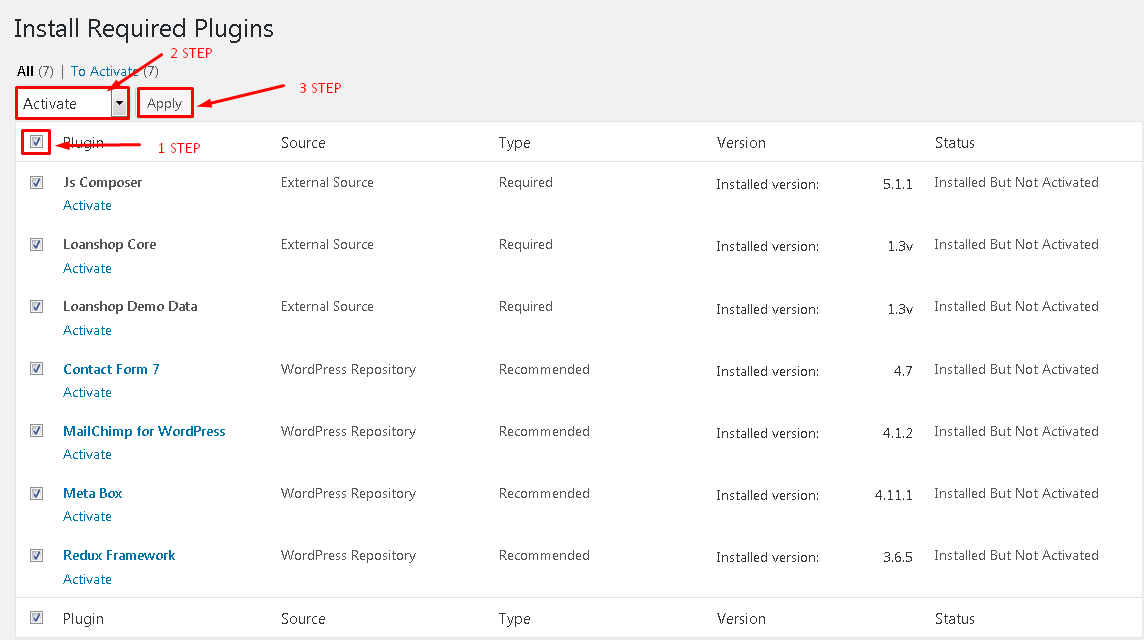
Finally, you will got a confirmation notice that your plugins were activeded.
To imprort the demo data content by yourself, please follow the steps below:
*Note :- Please increase your execution time by putting this code (php_value max_execution_time 3000) in your .htaccess file before importing demo data.


To imprort the demo content by yourself, please follow the steps below:

Note: Now you have a website just like our demo, with the pictures replaced by grey images.
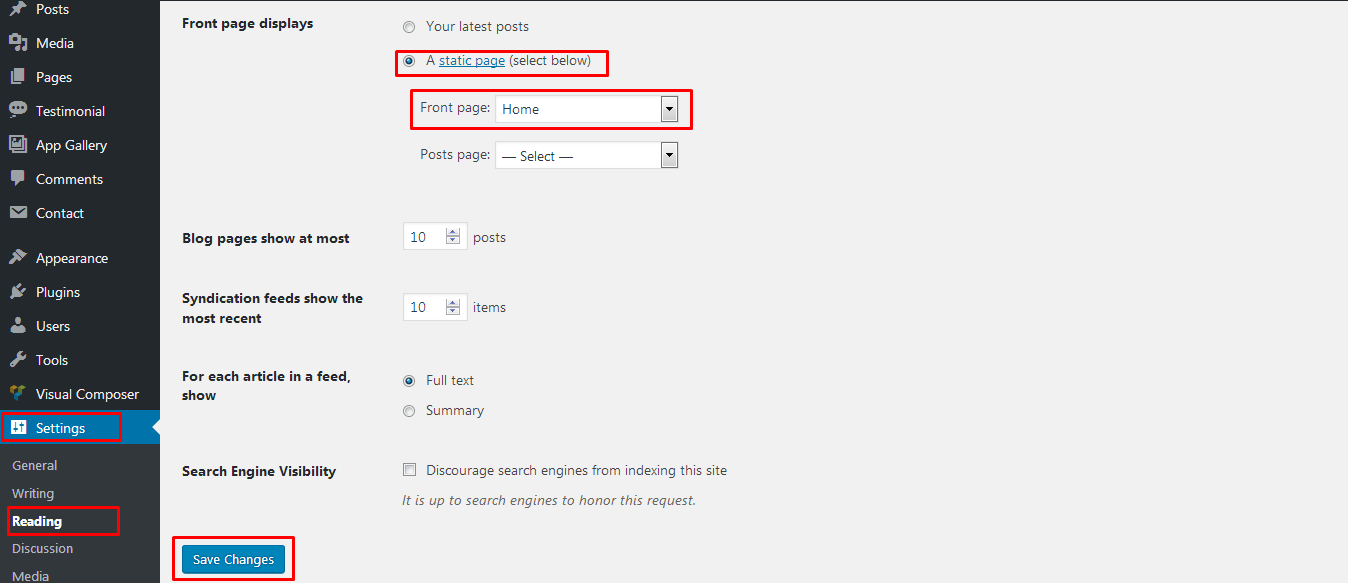
To set a page as Home page, go to Settings > Reading in your WordPress Dashboard panel.
After installation, you will be suggested to install additional plugins. To install them and activate, please navigate to Plugins, you will see a list of required and optional plugins. We recommend that you install the following to get the best of our theme:
Elementor Page Builder is the most popular drag and drop page builder or editor for wordpress.
If you need dedicated support for this component, please visit: Elementor Page Builder
Contact Form 7 is one of the most popular form builders for wordpress.
We have created styles ready for you to use within your LoanShop theme.
For detailed inforamtion and support on this plugin, please go to: https://wordpress.org/plugins/contact-form-7/
MailChimp is a real MailChimp newsletter system for your WordPress : perfect for list building, you can easily create, send and track e-mails, headache-free.
It just works out of box!
For detailed inforamtion and support on this plugin, please go to: https://wordpress.org/plugins/mailchimp-for-wp/
Redux Framework is a Theme Option Framework.
Redux is a simple, truly extensible and fully responsive options framework for WordPress themes and plugins. Built on the WordPress Settings API, Redux supports a multitude of field types as well as: custom error handling, custom fields & validation types, and import/export functionality.
For detailed inforamtion and support on this plugin, please go to: https://wordpress.org/plugins/redux-framework/
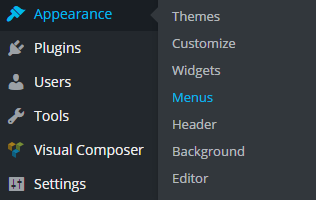
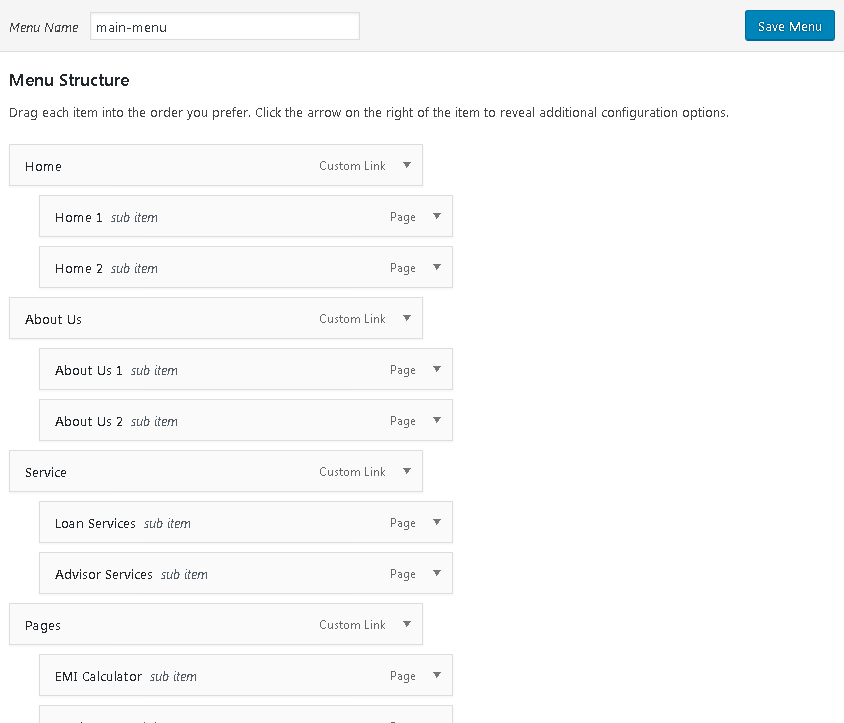
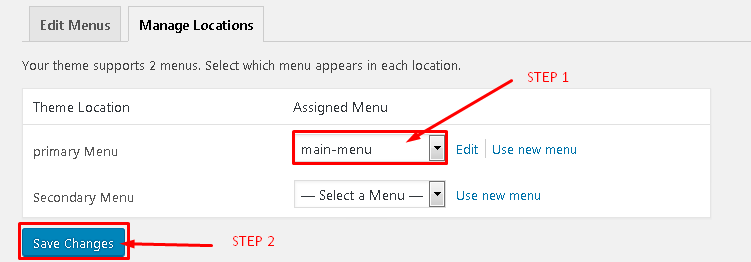
Your new custom menu has been defined.
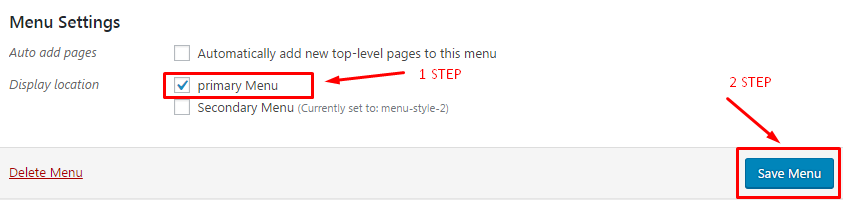
You can set any menu as primary menu here.
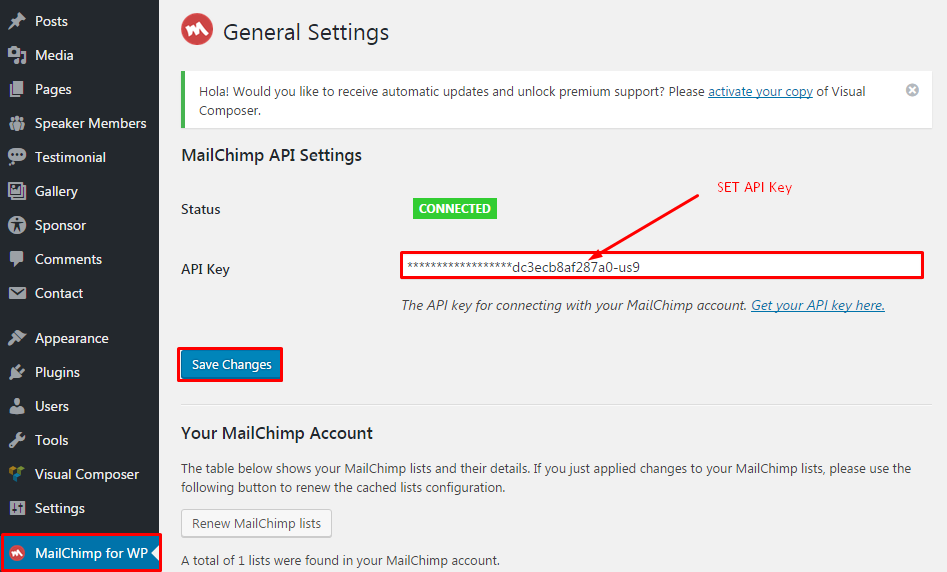
To set a Newsletter as page , go to MailChimp for WP in your WordPress Dashboard panel.
To set a Contact Form as page, go to Contact in your WordPress Dashboard panel.
some more setting according to your requirement.

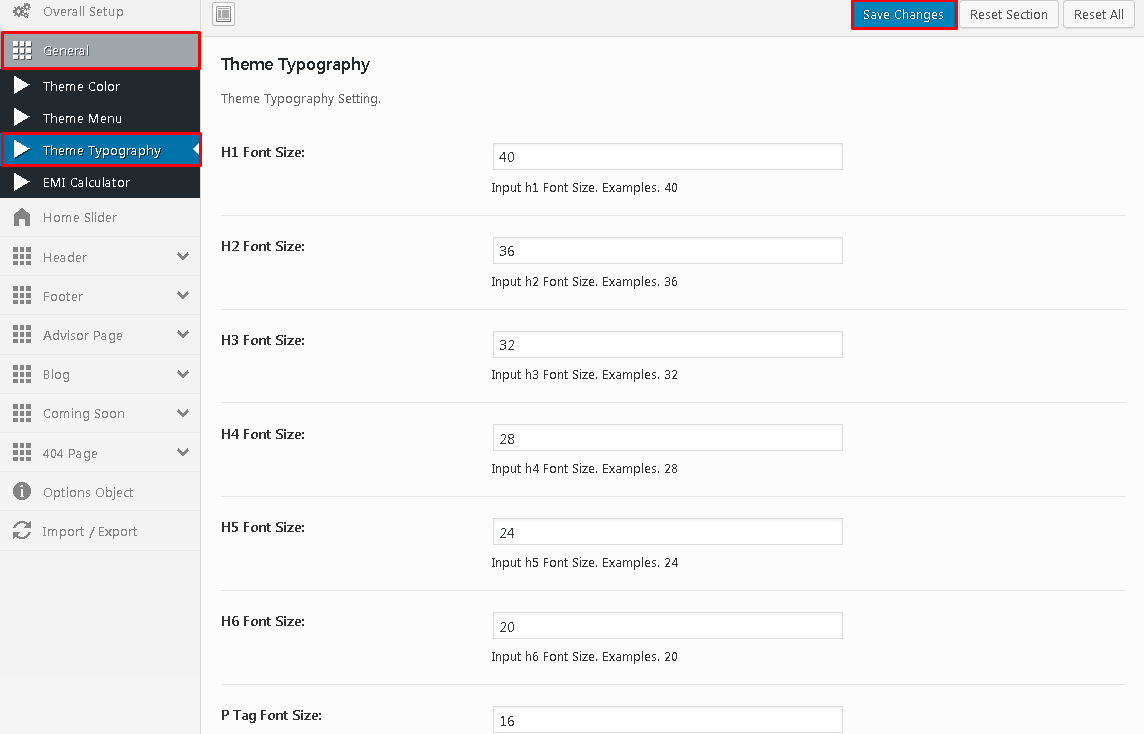
You can Set Typography H1, H2, H3, H4, H5, H6 and P Tag font size.
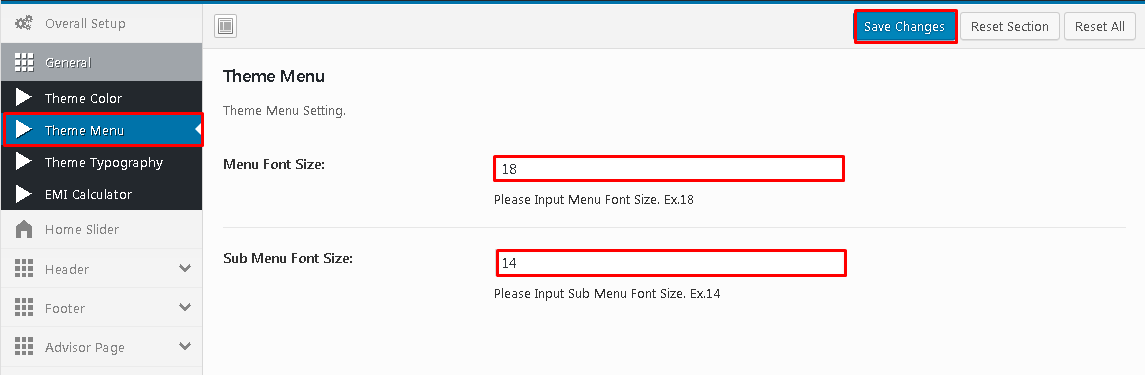
You can Set Memu font size.
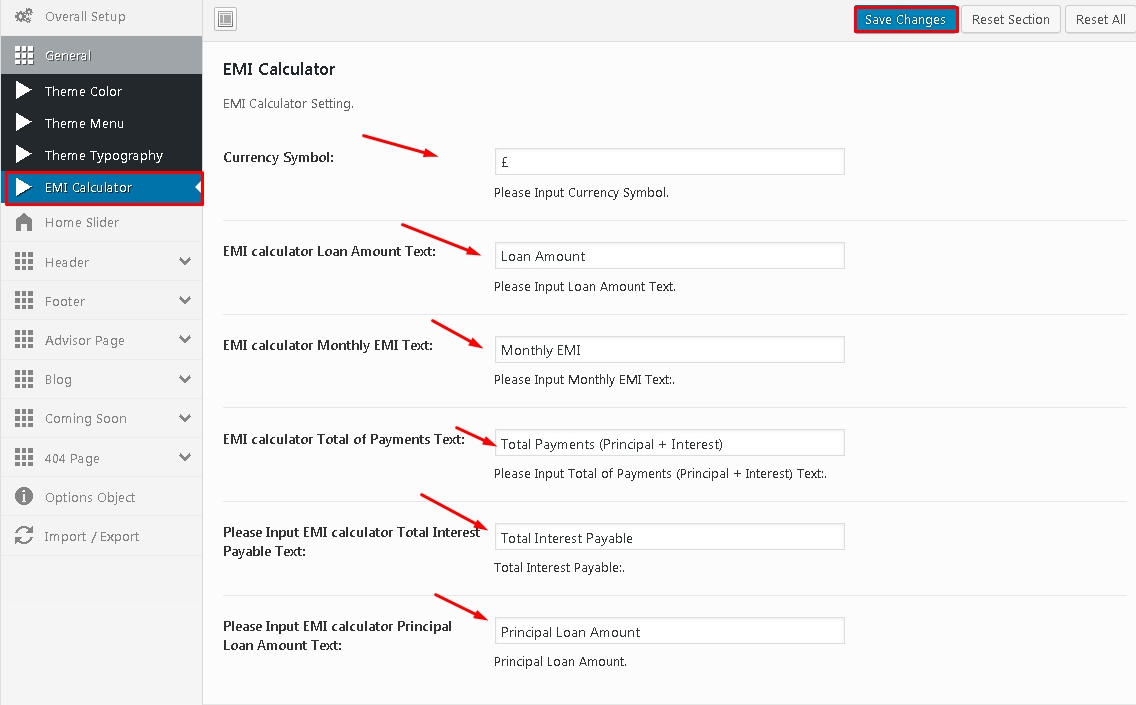
You can Set EMI Calculator.
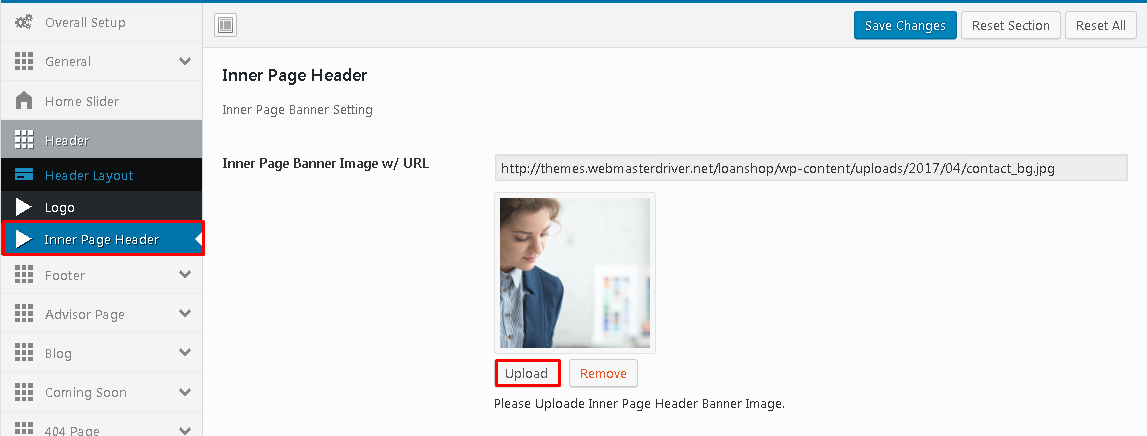
You can select an image file in your library or upload a new file from your computer to set as logo. Follow the steps below to set up your logo:
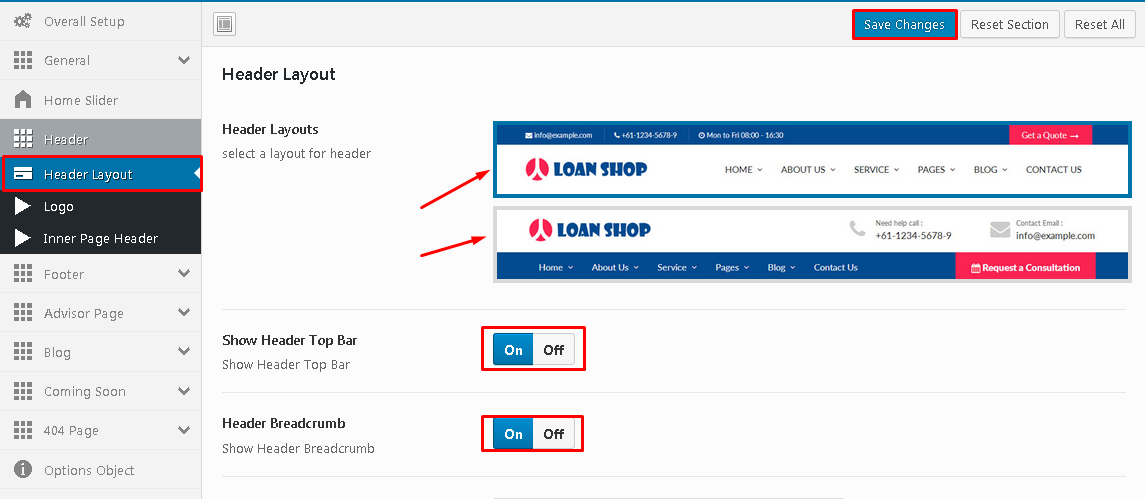
You can select an default Header Layout in your Theme if you not select Header style in page when this header call default.
Exaples Single blog page, blog category page etc.
You can Add Slides Home Page Header Style Slider.
Exaples Single blog page, blog category page etc.
Result : -

You can select an image file in your library or upload a new file from your computer to set as logo. Follow the steps below to set up your logo:
You can select an default Footer Layout in your Theme if you not select Footer Layout in page when this Footer call default.
Exaples Single blog page, blog category page etc.

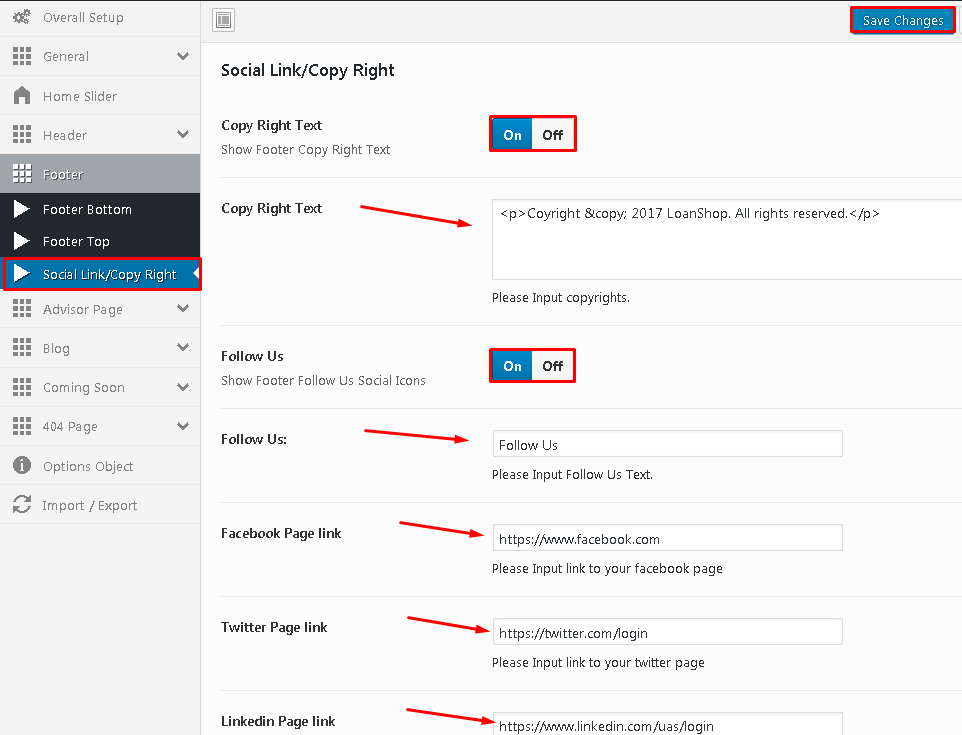
You can set Social Link and Copy Right text.
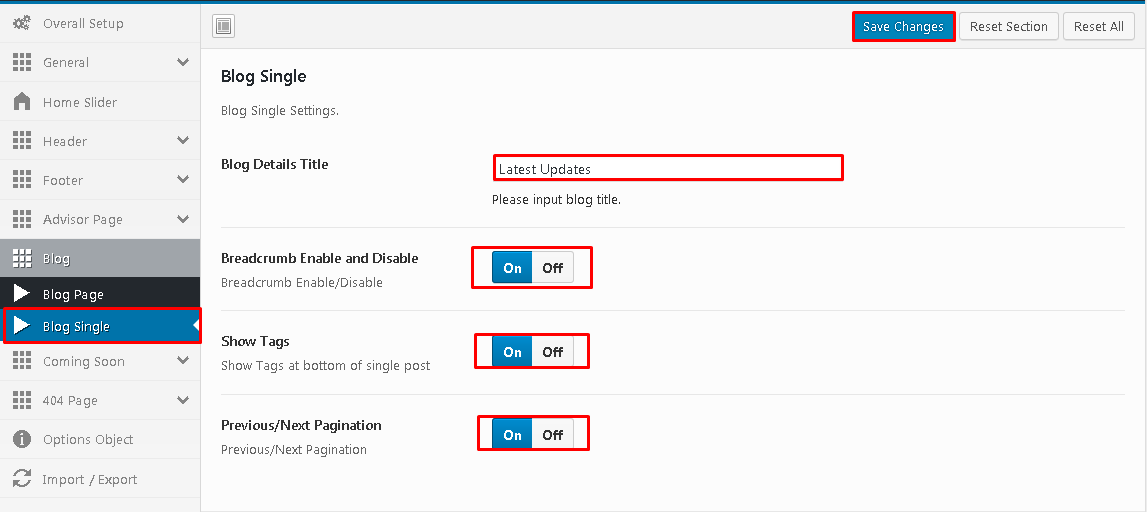
Here you can set up Blog Layout, Blog Side Bar , Blog Single Post Title, Blog Page Title, for Blog page.>
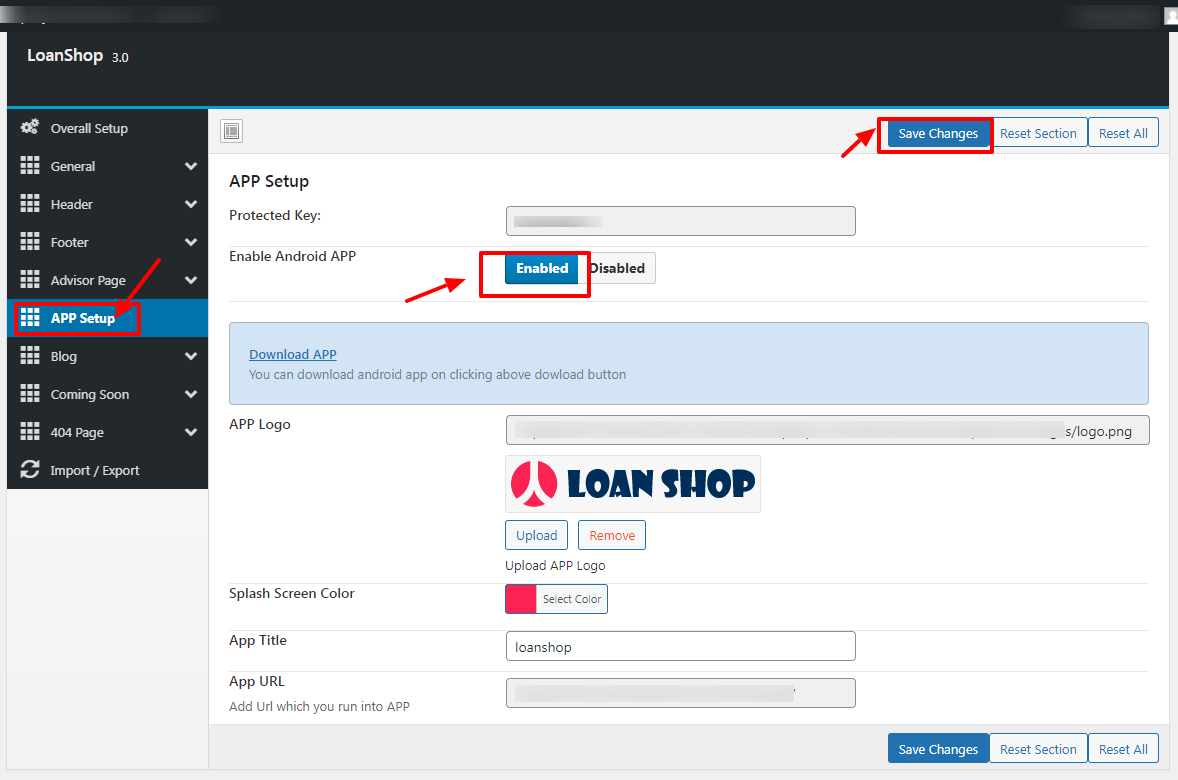
PART1.
Step1. Goto Theme Options.
Step2. Goto APP Setup.
Step3. Enabled App.
Step4. Click on Save Changes.
PART2.
Step1. Now Download App file "loanshop.apk" from theme option in your computer and move this file "loanshop.apk" in your Android Mobile Phone.
Step2. Install "loanshop.apk" in your Android Mobile Phone .
Step3. Once the app installed then Open the app in your android mobile phone.
Step4. Copy the Protected key from Theme Option and paste it, in your android mobile app.
Step5. Please run the app in your android mobile phone.
PART3.
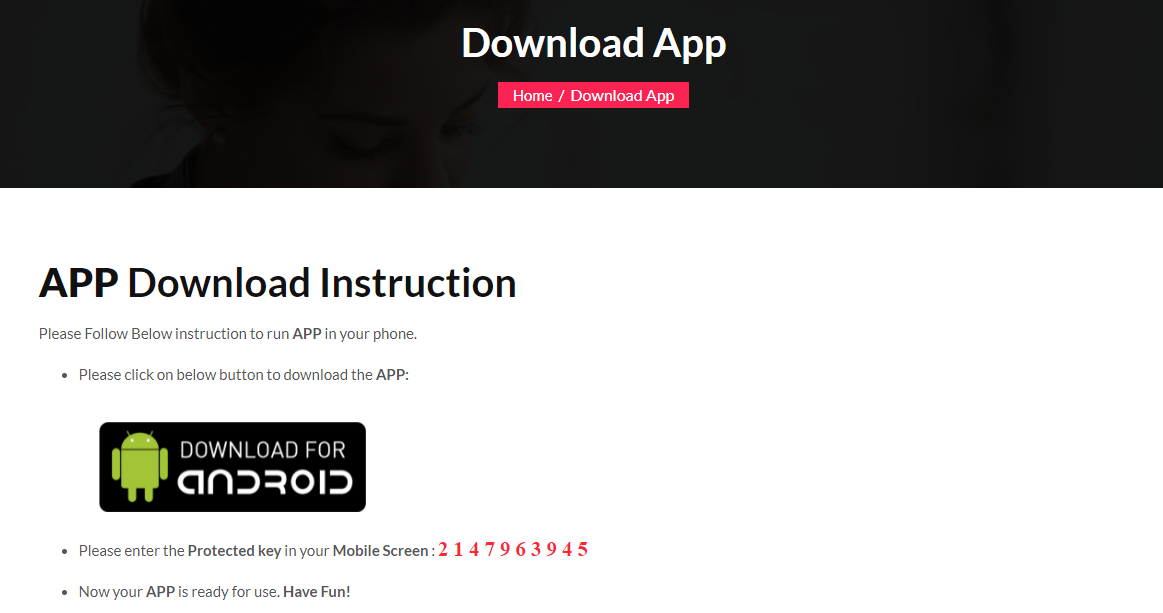
Now android app is available for your customers.
They can download the Android App from website Header/Footer click "Download App" Page.
That's All!
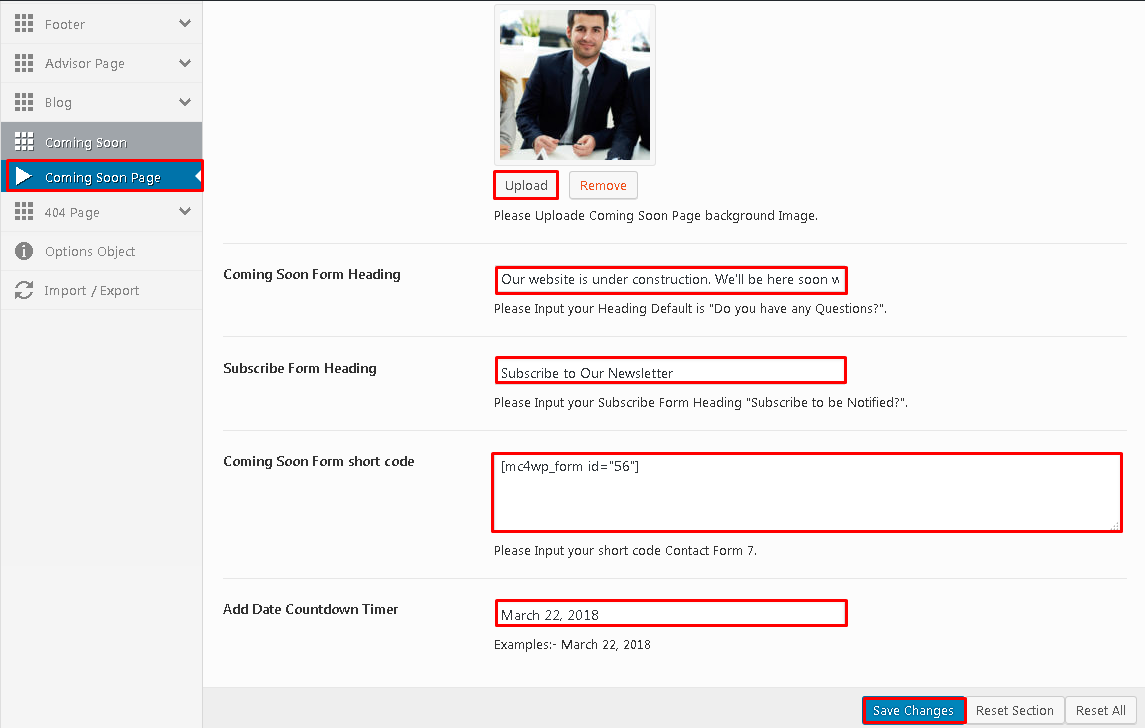
Here you can set up Coming Soon Page bg image, Title, Text Newsletter Title Comeback Date, for Coming Soon page.>
Here you can set up 404 Page image, Title, Text for 404 page.>

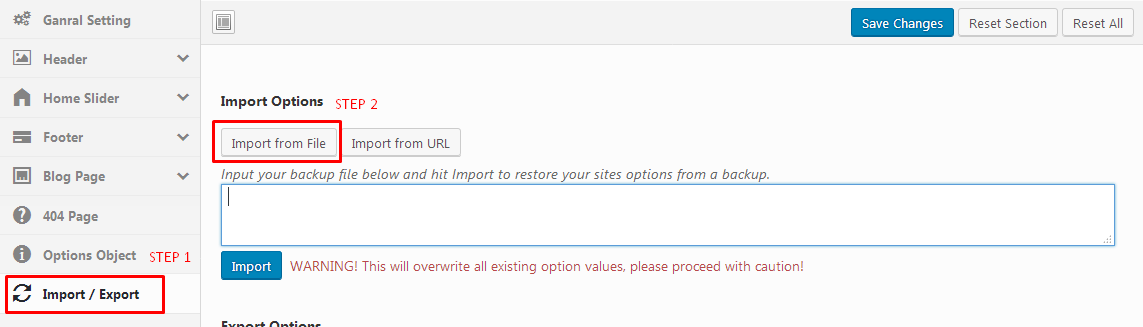
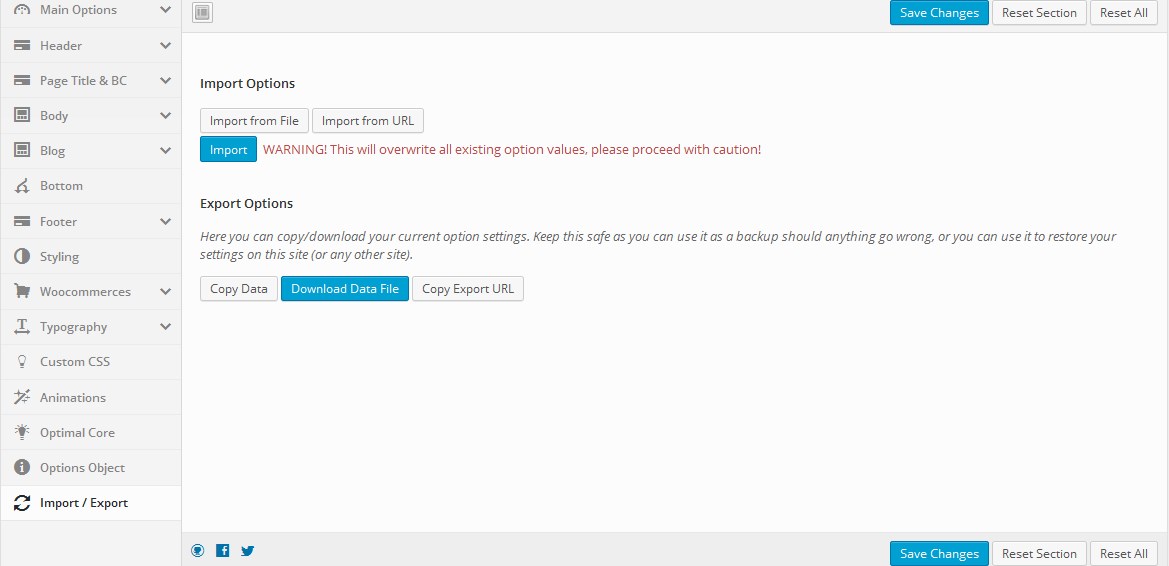
This section is especially for all those who want to move settings from theme options panel between themes or when you move your website from test server to live. Please always remember to click "Save Changes" button. Without that you will lose all your changes.
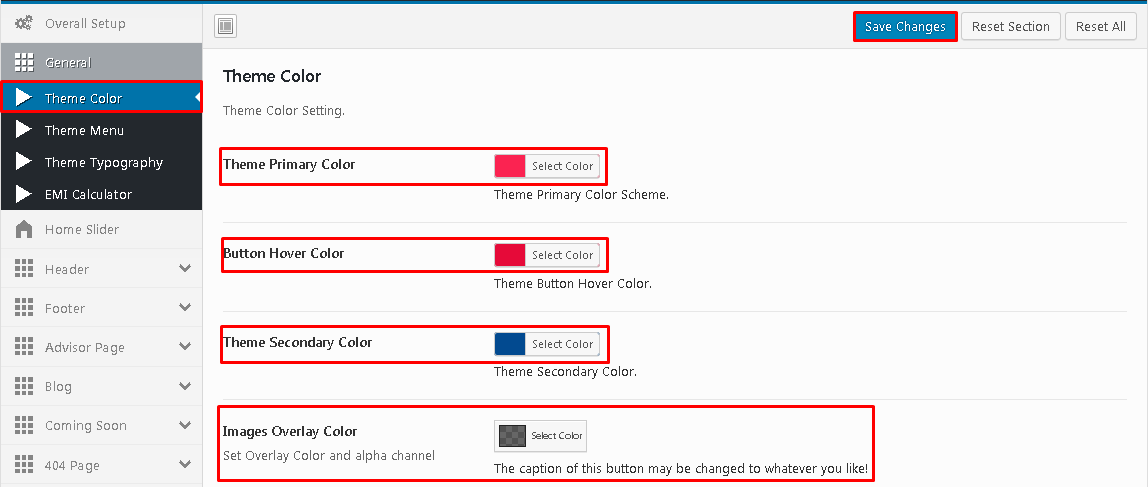
Unlimited Colors:- We includes backend color selectors so you can easily and quickly change your color throughout the entire theme.
You can select a color in Color Picker to set as Theme Color . Follow the steps below to set up your Theme Color:
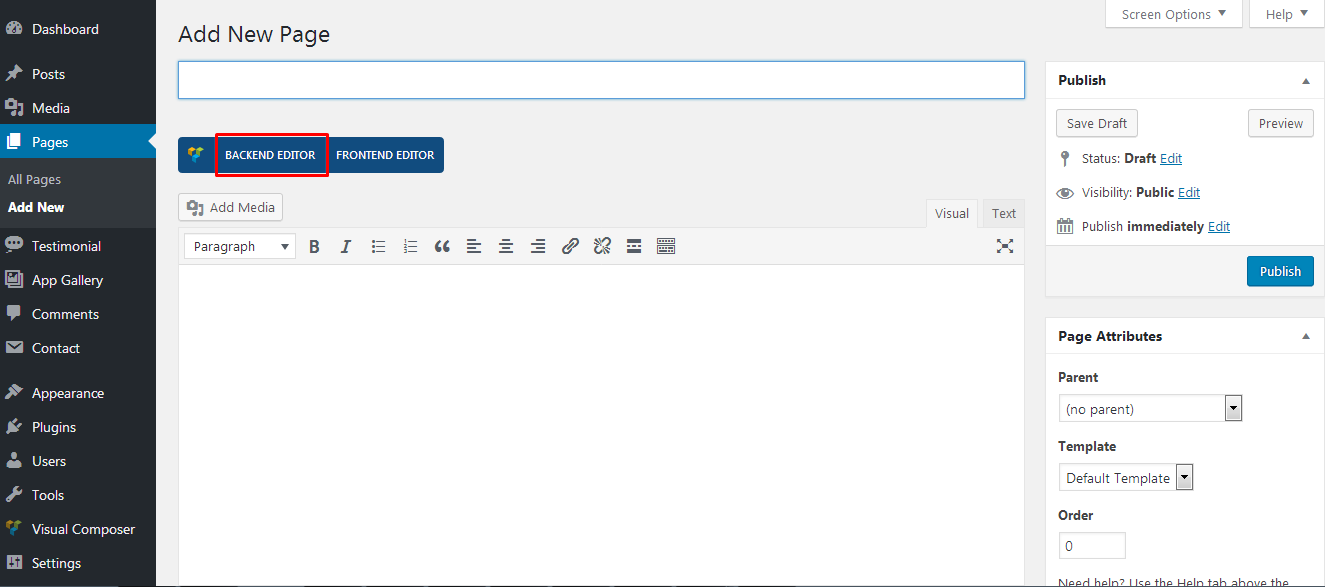
Elementor Page Builder is a powerful Wordpress page builder that allows you to create complex page layouts without touching a single line of code. To switch to Elementor Page Builder Backend Editor, click on this button:
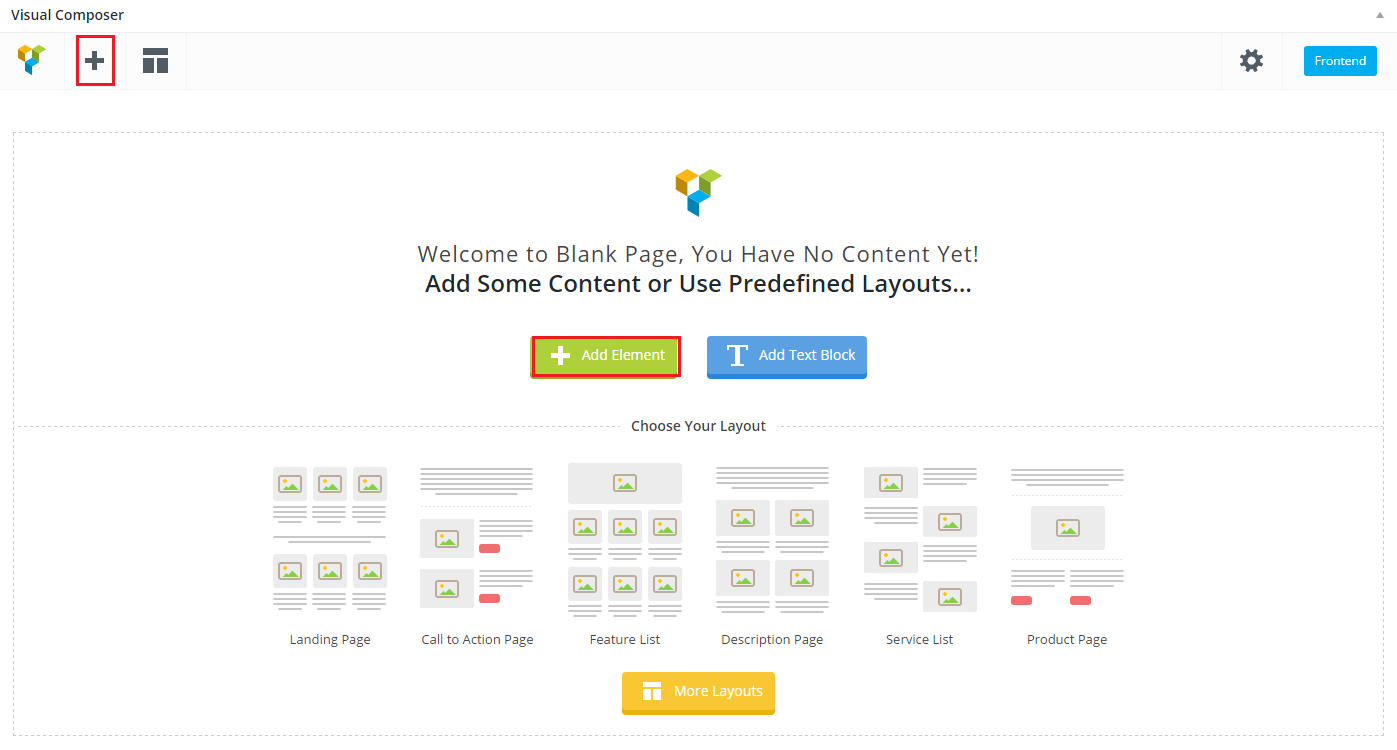
When Wp Bakery's editing pane comes up, click on either of these buttons to Add Element.
A shortcode selecting panel will show up, you can see all the shortcode available in the theme. Select the one you would like to use.
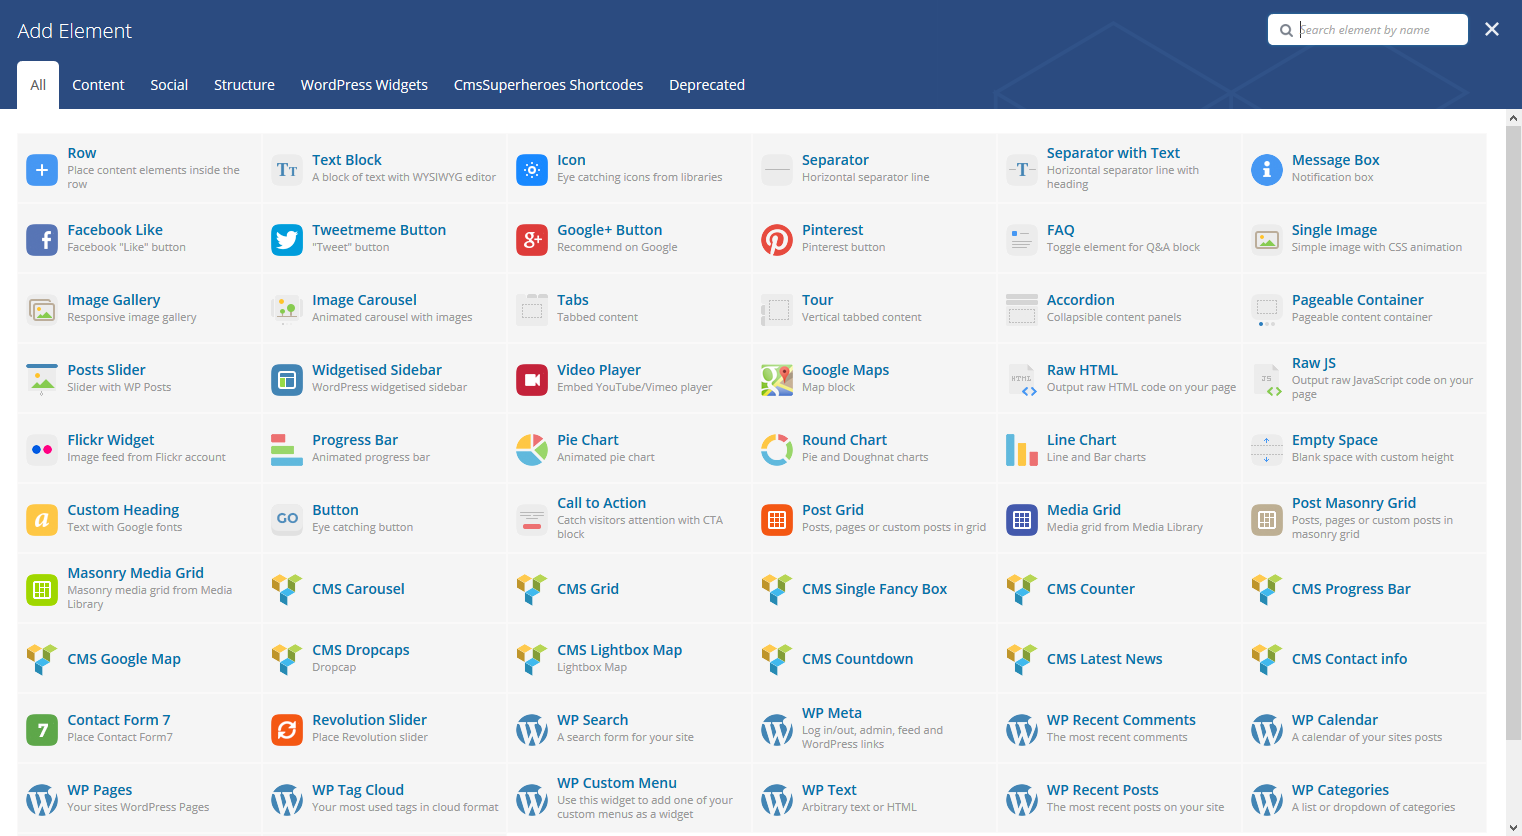
You will then encounter a setting panel for the shortcode (each shortcode has it own setting options), after a bit of configuration, it will show up nicely on your page.
Add Custome Shortcode plugin for free
1.Home Page Slider Style Shortcode
1. Add Text Block in Page Editer after then Paste This Shortcode Code:- [Bpromote_Banner_Slider]
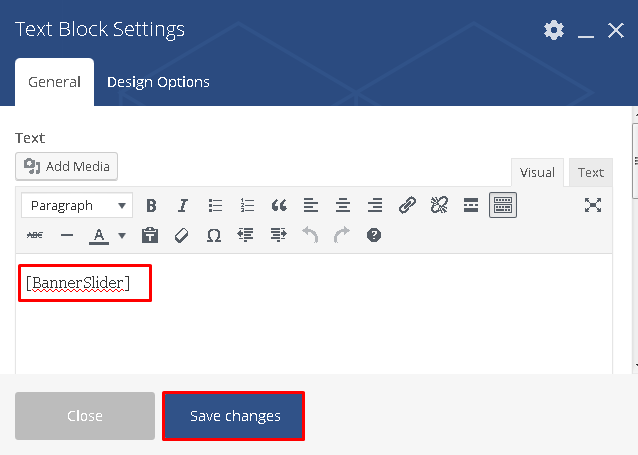
Result : -

2. Don't forget to Save when you are done.
2. Testimonial Style 1 List
1. Add Text Block in Page Editer after then Paste This Shortcode Code:- [TestimonialStyle1 show='3']
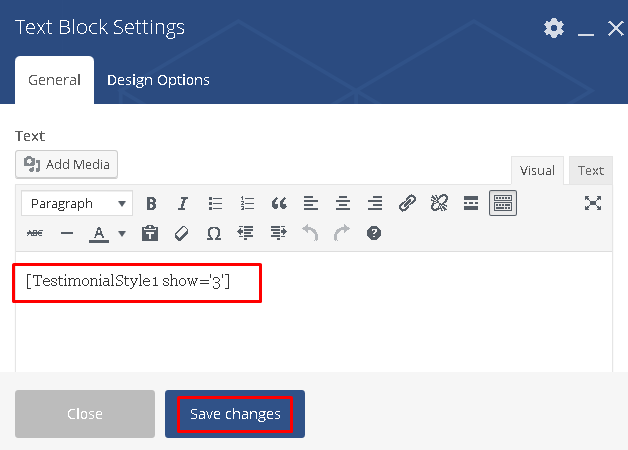
Result : -

2. Don't forget to Save when you are done.
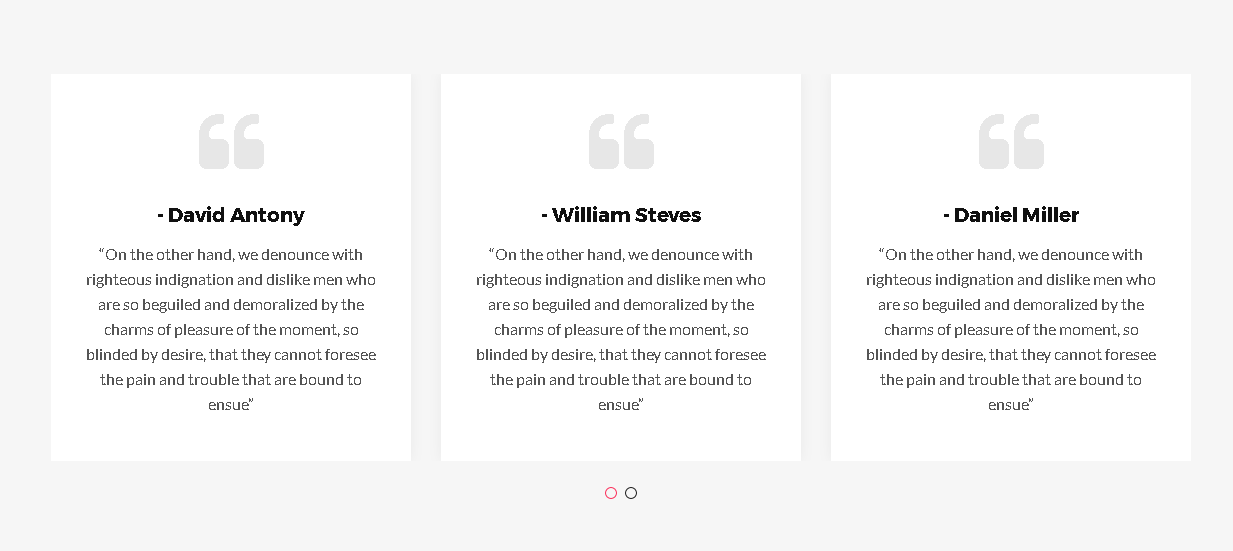
3. Testimonial Style 2 List
1. Add Text Block in Page Editer after then Paste This Shortcode Code:- [TestimonialStyle2 show='9']
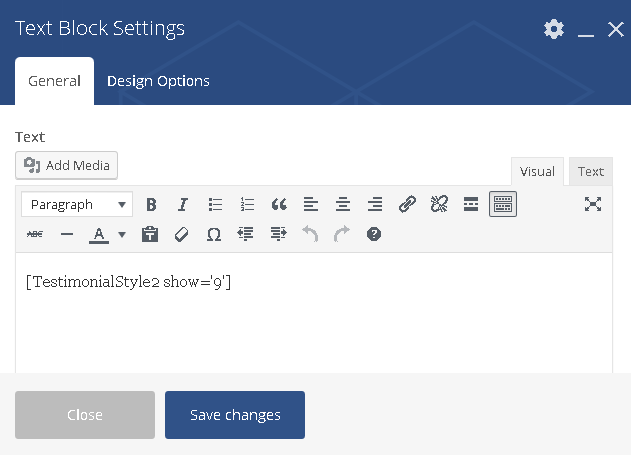
Result : -
2. Don't forget to Save when you are done.
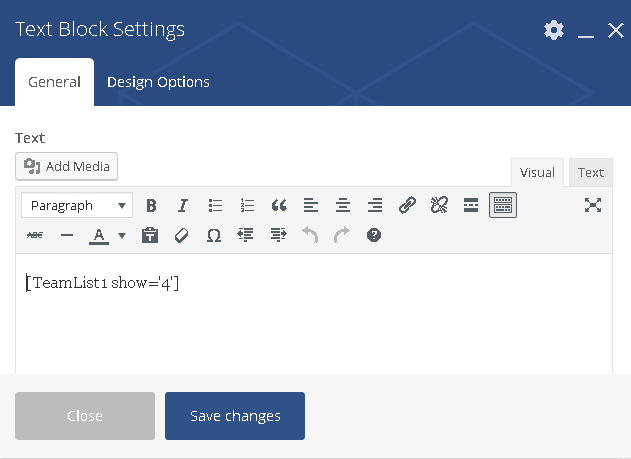
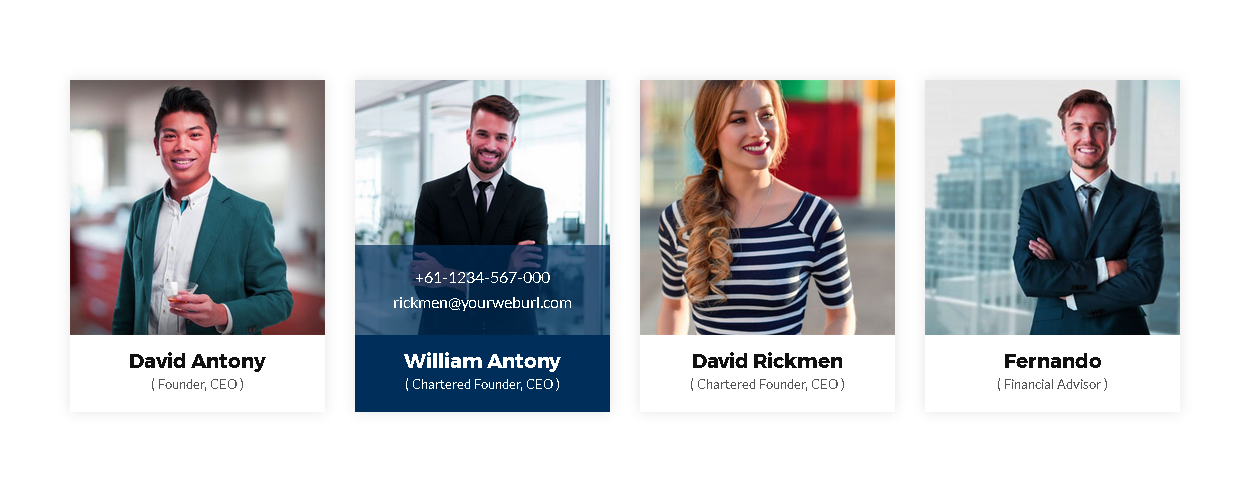
4. Team List
1. Add Text Block in Page Editer after then Paste This Shortcode Code:- [TeamList1 show='4']
Result : -
2. Don't forget to Save when you are done.
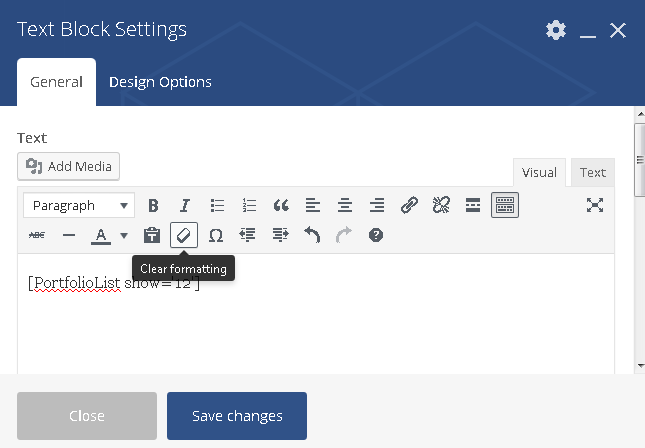
5. Team List
1. Add Text Block in Page Editer after then Paste This Shortcode Code:- [PortfolioList show='12']
Result : -

2. Don't forget to Save when you are done.
5. Partner Style 1 List
1. Add Text Block in Page Editer after then Paste This Shortcode Code:- [PartnerList1 show='10']
2. Don't forget to Save when you are done.
6. Partner Style 2 List
1. Add Text Block in Page Editer after then Paste This Shortcode Code:- [PartnerList2 show='15']
2. Don't forget to Save when you are done.
7. Loan Service List
1. Add Text Block in Page Editer after then Paste This Shortcode Code:- [LoanService show='3']
2. Don't forget to Save when you are done.
8. Loan All Service List
1. Add Text Block in Page Editer after then Paste This Shortcode Code:- [LoanAllService]
2. Don't forget to Save when you are done.
8. Advisor Services List
1. Add Text Block in Page Editer after then Paste This Shortcode Code:- [AdvisorServices show='9']
2. Don't forget to Save when you are done.
9. Advisor All Services List
1. Add Text Block in Page Editer after then Paste This Shortcode Code:- [AdvisorAllServices]
2. Don't forget to Save when you are done.